Carbuilder
Gold forum user
- Messages
- 126
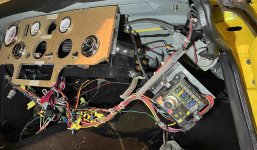
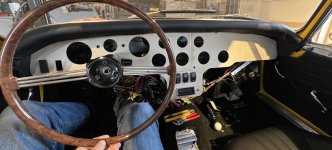
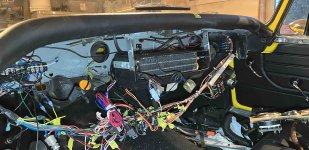
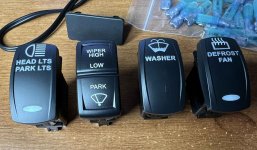
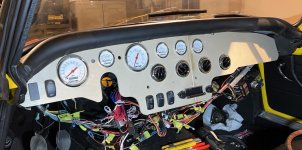
My car is not stock at all, so I'm not concerned with modifying parts of it. I'm adding A/C, power steering, new instruments and switches, so I need a new dashboard.
I do have some woodworking and car painting experience and tools, so I figured I'd give it a try.
I recently bought a laser cutter and it is very cool for cutting plywood, up to 1/4" cleanly, maybe 3/8", and above that with more than 1 pass. So I wanted to use that to cut the dash to save a lot of hand sawing and hole cutting. Also, I could rough out mockups from cardboard and then from thinner/cheaper plywood as I got closer to a finished design.
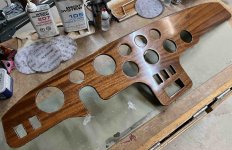
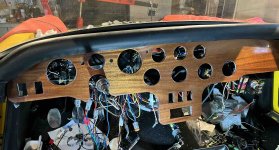
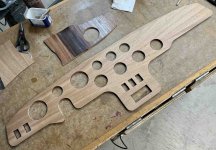
Basically I'm adding 4 vents for the A/C and a spot for the radio by dropping the middle of it down. Of course the way I've made this one could just as well be used to remake a stock one or to just re-veneer it. This is how I chose to make and finish it.
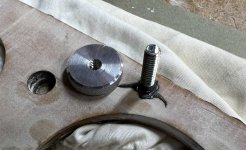
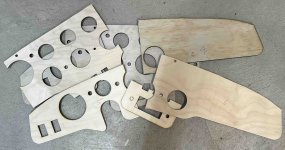
Since the laser is not large enough to cut the dash in one piece, I did it in several pieces. There is another reason for doing it this way. The switches go in from the front and have sawtooth tabs on the sides that prevent the switch from coming back out easily. But the tabs are meant for thinner dash's (I wanted mine to be about 3/8" thick). Also, the A/C vents are sort of the same in that the collars that screw on from the back to hold them in place will barely engage with a 3/8" thick dash. So I cut a front layer from 1/4" plywood, and a rear layer from 1/8". The rear layer has larger holes for the switches and vents so the retention features work well as they are only going through the 1/4" layer. I staggered the seams to keep everything strong.
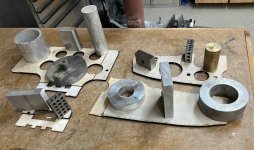
Metal working hobby comes in handy for weighing down the parts when glueing.
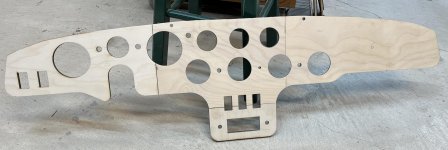
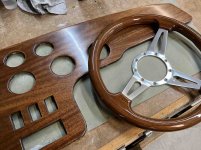
This is now 3/8" thick, which seems about right for strength. I have a mahogany steering wheel that I was more or less trying to match. Wasn't super fussy about it, but wanted it close, so a mahogany veneer was needed.
I found that Lee Valley (that I buy a lot supplies from) has rolls of very thin veneer. When I say thin, I'm not kidding. This is paper backed veneer that is 1/100" thick.....including the paper! I was a little concerned if this would work, but decided it would and bought a roll of the mahogany. The rolls are 2' x 8', so a lot left over but only $70 Canadian. I made sure the dash was very smooth, especially the seams as there really is no allowance for sanding the veneer.
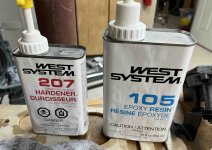
I glued it on with epoxy that I had left over from a project. The same epoxy that I planned on using for finishing it.
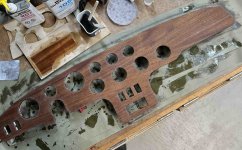
You can see the sample panel that I tried various stains to get close to the color of the steering wheel. In testing I found that the "natural" that was basically colourless did make the veneer quite a different color; the one on the left. The mahogany stain was too dark. I ended up mixing a little of the mahogany stain into the natural and that came out very nice.
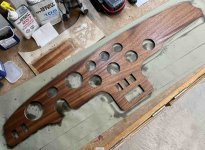
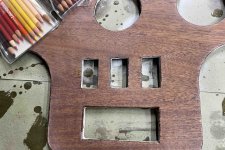
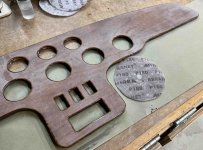
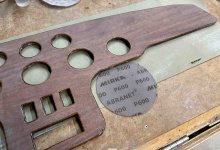
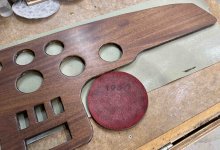
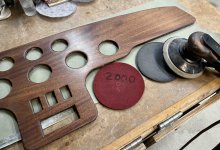
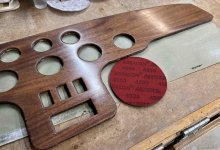
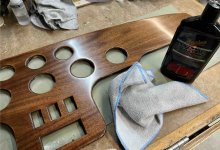
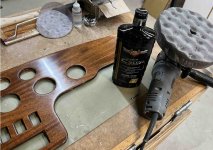
I gave it a very thin coat of epoxy to seal the grain without making bubbles that you get with a thicker layer. I gave it a light sanding with a random orbital sander to smooth it and kill any gloss in preparation for the next coat of epoxy. Remember when I said the veneer was very thin and didn't allow for any sanding? I was right. I ended up sanding through in a couple places that must have been a touch higher than the surrounding area.
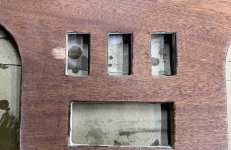
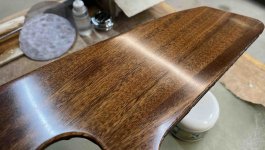
I tried putting more stain on those areas, but it didn't work since they have some epoxy soaked in that sealed the grain. Damn! What to do?
Rick
I do have some woodworking and car painting experience and tools, so I figured I'd give it a try.
I recently bought a laser cutter and it is very cool for cutting plywood, up to 1/4" cleanly, maybe 3/8", and above that with more than 1 pass. So I wanted to use that to cut the dash to save a lot of hand sawing and hole cutting. Also, I could rough out mockups from cardboard and then from thinner/cheaper plywood as I got closer to a finished design.
Basically I'm adding 4 vents for the A/C and a spot for the radio by dropping the middle of it down. Of course the way I've made this one could just as well be used to remake a stock one or to just re-veneer it. This is how I chose to make and finish it.
Since the laser is not large enough to cut the dash in one piece, I did it in several pieces. There is another reason for doing it this way. The switches go in from the front and have sawtooth tabs on the sides that prevent the switch from coming back out easily. But the tabs are meant for thinner dash's (I wanted mine to be about 3/8" thick). Also, the A/C vents are sort of the same in that the collars that screw on from the back to hold them in place will barely engage with a 3/8" thick dash. So I cut a front layer from 1/4" plywood, and a rear layer from 1/8". The rear layer has larger holes for the switches and vents so the retention features work well as they are only going through the 1/4" layer. I staggered the seams to keep everything strong.

Metal working hobby comes in handy for weighing down the parts when glueing.


This is now 3/8" thick, which seems about right for strength. I have a mahogany steering wheel that I was more or less trying to match. Wasn't super fussy about it, but wanted it close, so a mahogany veneer was needed.
I found that Lee Valley (that I buy a lot supplies from) has rolls of very thin veneer. When I say thin, I'm not kidding. This is paper backed veneer that is 1/100" thick.....including the paper! I was a little concerned if this would work, but decided it would and bought a roll of the mahogany. The rolls are 2' x 8', so a lot left over but only $70 Canadian. I made sure the dash was very smooth, especially the seams as there really is no allowance for sanding the veneer.
I glued it on with epoxy that I had left over from a project. The same epoxy that I planned on using for finishing it.


You can see the sample panel that I tried various stains to get close to the color of the steering wheel. In testing I found that the "natural" that was basically colourless did make the veneer quite a different color; the one on the left. The mahogany stain was too dark. I ended up mixing a little of the mahogany stain into the natural and that came out very nice.

I gave it a very thin coat of epoxy to seal the grain without making bubbles that you get with a thicker layer. I gave it a light sanding with a random orbital sander to smooth it and kill any gloss in preparation for the next coat of epoxy. Remember when I said the veneer was very thin and didn't allow for any sanding? I was right. I ended up sanding through in a couple places that must have been a touch higher than the surrounding area.

I tried putting more stain on those areas, but it didn't work since they have some epoxy soaked in that sealed the grain. Damn! What to do?
Rick
Last edited:

