KenF
Gold forum user
- Messages
- 396
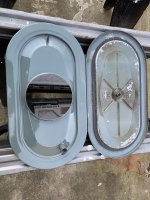
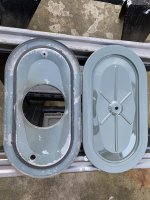
There are a couple versions out there that push OPEN and pull CLOSED. Or is it upside backwards ?
Both valves look to be pull to open, push to close. And cable is pull to heat, so seems right.
There are a couple versions out there that push OPEN and pull CLOSED. Or is it upside backwards ?
I've removed the rivet and cleaned them out. My old motorcycle pals said they used oil of Wintergreen to rejuvenate old rubber and seals. On my old sailboat soaking the rubber seals in Joy dish soap also lubricated the seals . The early valve worked better for me than the "new and improved," late version. I don't think there is any different between the Alpine and Tiger ones. A British shop owner acquaintance of mine had several he took out of attic storage but apparently they didn't like the heat, but they looked great")
... in a stock 260. But if you want just a little more suds, get a 5-bolt 289 and hop it up just a little. Maybe you can go for a ride or someone will let you drive a stock 260 Tiger. Maybe it’s worth putting the 260 on a shelf for the resale pile, but have a 289 for today’s fun.
-Kevin

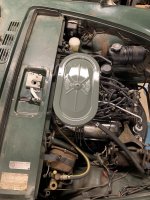
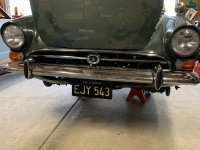
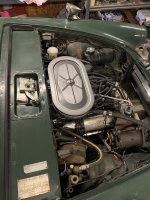
 I need find that elusive correct air cleaner nut somewhere too. Not sure if color is correct, and I may be way off base, but it is what it is.
Please send more info on that Moss clamp, and I may order it. I need to check some old Tiger pics to see what the vacuum line should look like.Also gotta get you a proper metal vac. line on the distributor.
I've seen a reasonable facsimile sardine clamp for the booster hose on Moss motors just haven't gotten around to ordering one to see what it looks like in real life.
Please send more info on that Moss clamp, and I may order it. I need to check some old Tiger pics to see what the vacuum line should look like.
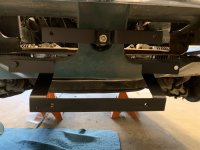
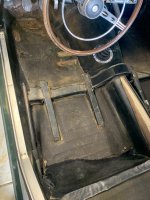
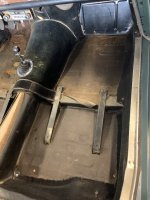
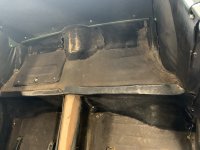
So, put to use that weird starter hole (I don't really know what it is) to mount a top bracket to stabilize.
The opening is for use of the hand crank for starting the Alpine engine. A hand crank was supplied with most Alpines.
<iframe width="560" height="315" src="https://www.youtube.com/embed/xV--4DU2owE?start=15" frameborder="0" allow="accelerometer; autoplay; encrypted-media; gyroscope; picture-in-picture" allowfullscreen></iframe>The opening is for use of the hand crank for starting the Alpine engine. A hand crank was supplied with most Alpines.
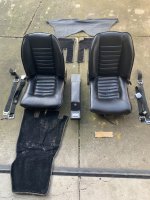
Thanks Larry! Sending PM.I have old carpet complete, email me ,I am also in Sacramento,
Larry